I begin of course at the shoot. I use AutoBracket either on my G7 in CHDK mode or my 5D. This one was shot with my 5D:
I set my autobracket to -2, 0, +2. I try to start around what would be a correct 0 exposure and shoot 3; raise it a full stop; shoot 3 more; lower it two full stops; shoot 3 more and so on until I get a nice range. I'll have some duplicate exposures, but I'll narrow it down in Lightroom.
I do this for a high view and a low view trying to be careful to rotate the tripod head down in a straight line. After I have my two sets I'm ready to import these into Lightroom.
Adobe Lightroom is a database/darkroom for digital photos. Here I make each group of shots into a mini collection and strip out duplicate exposures. Along the ocean you have watch for cloud movements in photo series for HDR as a moving cloud will create a digital "chatter" which doesn't look too good. So I try to choose those that are as close to one another as possible. I also may do a noise reduction here, if the image is dark to begin with.
Once I've gotten 6 to 9 exposures in a row, a stop apart each, I export each group to generate my HDR's. In this case I used Photomatix. Here tonemapping is a personal style or taste thing. Everybody has their own way of adjusting their images. I have mine which you can see here in this image. I generally try to get the bell curve of the histogram as near to the middle as I can. The rest is trying different options to see what I think looks good at the moment.
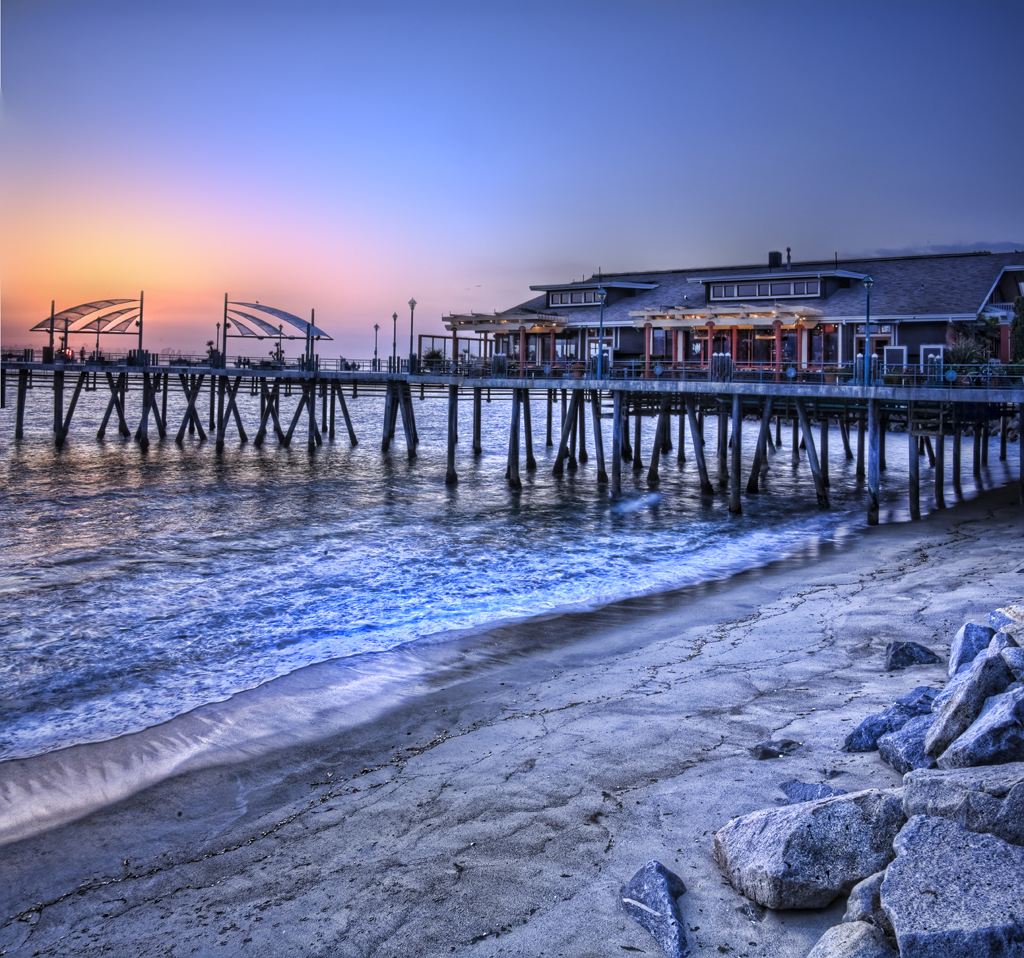
I write out a .tif for each the top and bottom sections and bring those into photoshop. I use the automate merge function in interactive mode and combine what originally was 30 images into 1 final HDR Vertorama.
Those are the steps I use to make one of these.

No comments:
Post a Comment