Sunday, April 12, 2009

Venice Pier Ortons and more ...

As some of you may have gathered, I like taking pictures at the Venice Pier. Especially sunsets!

city of angels sunset II Orton

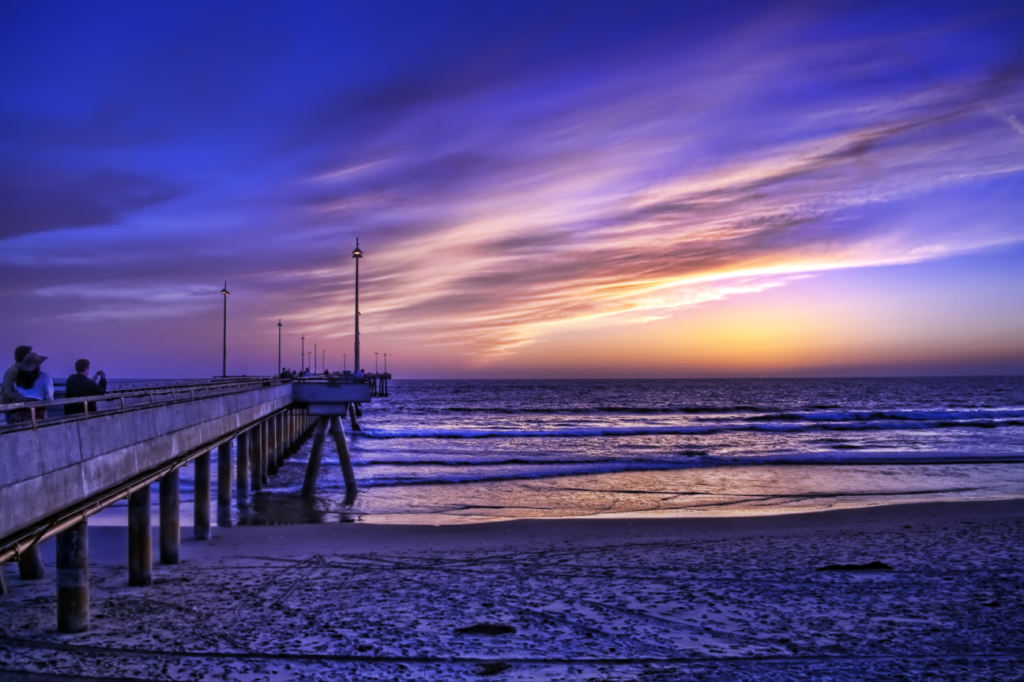
This started out as 3 exposures from my point and shoot Canon G7. I've hacked this camera to produce RAW files by using CHDK or the Canon Hackers Development Kit. Other extras include expanding the F-stops to F11 (normally the smallest hole on this one is F8.)

CHDK also gives one the option of converting to a digital negative (DNG) in the camera. This raw file goes anywhere and I loaded the 3 exposures into Lightroom. In Lightroom I changed the white balance to Tungsten on all 3 and duped each of the RAW's. On the duplicates I changed the white balance to Florescent. I also added Clarity, Vibrance, and a little Saturation. I now have 6 16 bit files - 3 each of the autobracketed sets with two different white balances. I use Lightroom's export to photomatix plugin and combine all six into one HDR in photomatix.

Tonemapping is done there and I usually use strength, Saturation, Light Smoothing, Microcontrast and White Point adjustments only. On darker images I'll look at Luminosity and Gamma. Also large cloudless skies really benefit from microsmoothing.

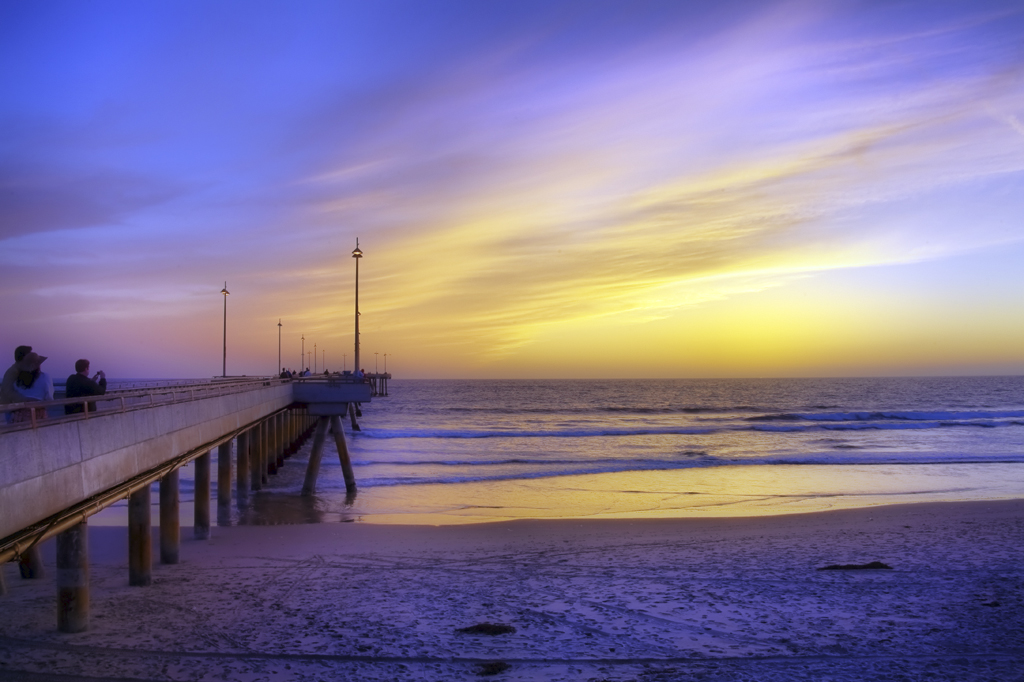
Now I save out a .tif and I'm ready for photoshop. In photoshop I like to tweak the levels, and run a noise removal filter. I've often through the kitchen sink at a file in the way of filters and plugins but this time the Orton method mentioned in earlier posts was used. I've described that method here.

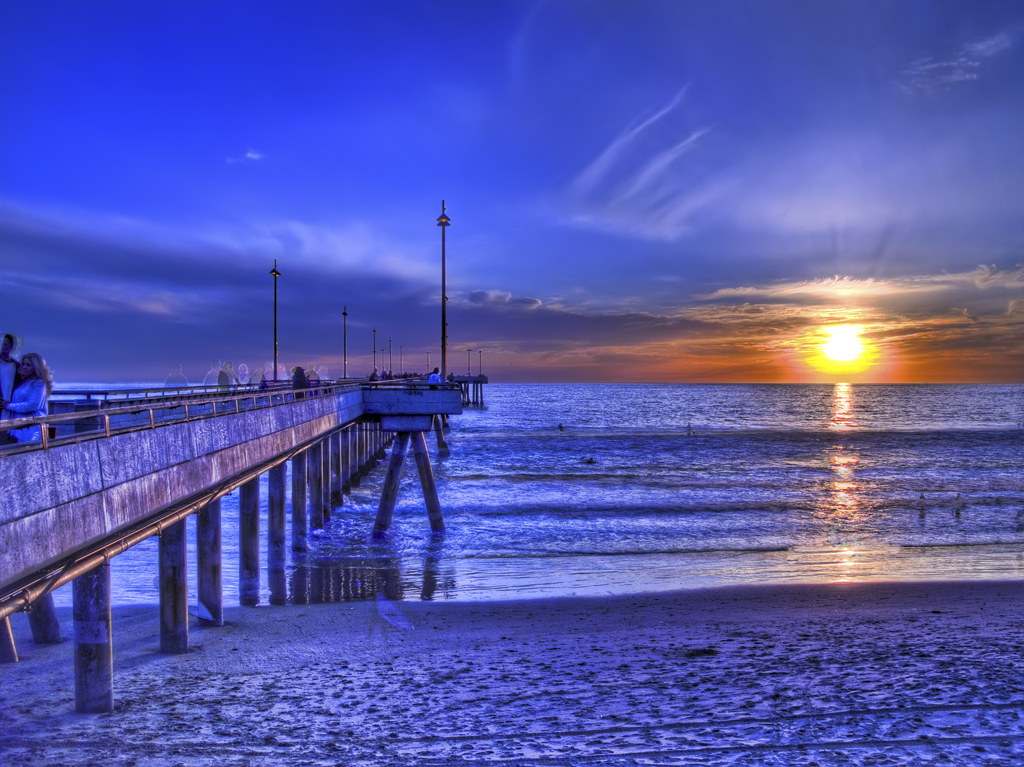
I went two ways with this one. First I like playing with Redfield's plugin Fractalius. I've still learning this software but if you reduce your image size before you experiment, it's much more interactive. I went with one of the glow presets on a duplicate layer. I then changed the blending mode for this layer to Screen and flattened the image. This resulted in:

city of angels sunset II fractalius

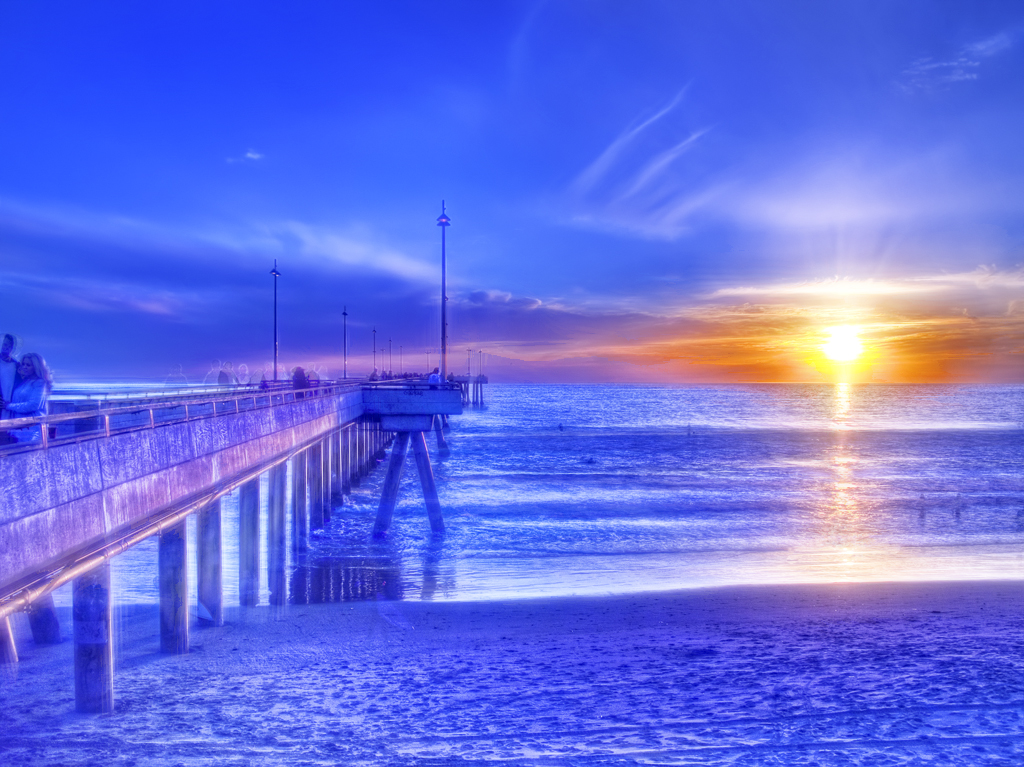
Then I went back to the Orton shown at the top of this article and made bubbles out of the entire image and comped them on top. No special filters for this as it is straight photoshop out of the box distortion. I lined them up like I thought they would be floating in and altered the transparencies making them more transparent the farther they were "away." You might have seem this already here:

city of angels II Orton  bubbles

So I went overboard on this but it was fun. The sunset was one many great ones we had this winter on February 20, 2009. Any questions, let me know here or on Flickr.

Monday, April 6, 2009

Michael Orton's Sandwich Digital Style

venice pier sunset 0332 Orton

Orton imagery, also called an Orton slide sandwich, is a photography technique which blends two completely different photos of the same scene, resulting in a distinctive mix of high and low detail areas within the same photo. It was originated by photographer Michael Orton. This is from a Wikipedia article about the Orton Technique.

Wikipedia provides you with some examples and then goes on to say:

"Photography enthusiasts, such as groups on Flickr, have embraced the technique and used photo editing programs, like Adobe Photoshop, to replicate it. Some have modified the technique to selectively apply the technique, producing images that have regions of crisp focus and high detail and regions of intense blurriness."

I have written about Orton's before in this blog about Orton images. That article did go through the steps of making the image that article was referring to but I've adjusted it since then.

I've now reduced the Gaussian Blur step to a radius of 3 pixels.

Also I now have a photoshop action which automates the steps. When I figure out where to upload that action I will.

The image at the top had a serious hot spot above where the sun was setting. Any saturation of the image at all resulted in serious banding. Since this was the sky of course I didn't want that kind of sharpness.

So from my previous article here are my Orton steps again:

The digital version starts by duplicating layers in photoshop, then duplicating the top layer again. I then change the blending mode on the very top layer to Screen. I merge down and duplicate this layer again.

Now I take the top layer and sharpen and sharpen edges using those basic photoshop filters. (This step by the way was added thanks to the tip by Chris Anderson) I change the blending mode on this top layer to multiply. I then go down to the second layer and use a Gaussian blur.

This is where I've changed also on advice by Chris Anderson, as I wrote above I now use a much lower blur radius.


Dynamic Photo Hdr Orton Filter option

venice pier sunset 0332 DPHDR Orton

Mediachance has released Dynamic Photo HDR version 4 which includes an Orton color filter which you can use during the tonemapping your HDR step.

This is pretty much a push button and select method as there are no blur or sharpness controls, and no control over the sandwich layer blending. It does have Black and White, Sepia, Sky and Hard Light presets but they're all automated.

So you either like the result or you don't. In this case immediately above I did.

For me either method served the purpose of removing the serious color banding in the sky, however. It comes down to whether or not yoiu like what you see.